Pumpkins are a fall staple in pie and on your mantle. We often have clients who want to embrace autumn and incorporate pumpkins into their fall party décor, but they also want to push the envelope. What do we do when a client wants to decorate with an all red theme? What if the client just doesn’t like orange? What if pumpkins seem too plain? Our perfect answer is painted pumpkins.
When designing this year’s pumpkins, we took inspiration from mixed materials. We wanted to create pumpkins that could appear like they were made of ceramic, covered in gold, and crafted from glass. We also wanted to use a color not traditionally associated with fall or Halloween décor. We hope you enjoy our 2020 collection of blue pumpkins!

Metallic Pumpkin
We have fond memories of decorating the table for Thanksgiving dinner. We channeled our love of gold accented china to create a pumpkin that would feel at home in the center of your table surrounded by your holiday best.
-Using a wide acrylic brush, apply the first coat of paint. We used a mixture of satin, pearl, and metallic paints to create depth and shimmer.
-Allow this coat to fully dry.
-Apply a second coat and be careful to blend out any brushstrokes.
-Using a small brush, apply the gilding adhesive to the area at the top of the pumpkin/base of the stem. You will want to work in small sections. Apply a small amount of adhesive. Allow the adhesive to dry for 1 to 2 minutes until tacky. Then, apply the gold leafing. We used a gilding sheet. In order to create a varied texture, rip the gilding into small shard like pieces and apply them by hand or with a tweezer. You will want to tap them gently into place with your finger or the back of a brush to ensure they are affixed.
-When you have finished gilding, take a fan brush and lightly go over the gilding with a dusting or sweeping motion. This will ensure that any gilding that is not dried down is removed.
-Allow the gilded area to dry overnight and be careful whenever moving to hold the pumpkin from the non-gilded area to avoid any damage.

Glass Pumpkin
Inspired by mesmerizing glass hand blown pumpkins we found at Les Trois Corbeaux in Quebec City, we wanted this pumpkin to shine like glass.
-Using a wide acrylic brush, apply an even layer of satin acrylic paint.
- Allow paint to dry fully before applying a second layer.
-On the second layer, attempt to get as few visible brush strokes as possible. If your paint is too thin, stroke marks and bald spots will be visible.
-Let the color coats dry very thoroughly, at least 1 hour before glazing.
-Using a medium acrylic brush, apply a medium to thick coat of acrylic glaze. Use more glaze if your dried paint has a rough texture. Be sure to apply the glaze in single strokes moving upwards. This will allow any extra glaze to gather by the stem. Blot any excess using a cotton swab and then smooth the area with your brush.
-Allow glaze to dry for 2 to 3 hours. If your first coat is not fully dry, the glaze will bead and pill when you attempt to apply the next coat.
-Prior to application of your second coat, check for any noticeable drips or areas where the glaze has pooled. You will want to smooth these before applying a second coat. Use your brush to tap these areas down flat and smooth any edges.
-Apply a second (thinner) coat of glaze. Pay extra attention to rough areas, including the stem, to ensure that the entire pumpkin will have a shiny glass-like appearance.
-Allow the pumpkin to dry overnight. Do not attempt to move the pumpkin now as touching the surface will disturb the glaze and the paint underneath.
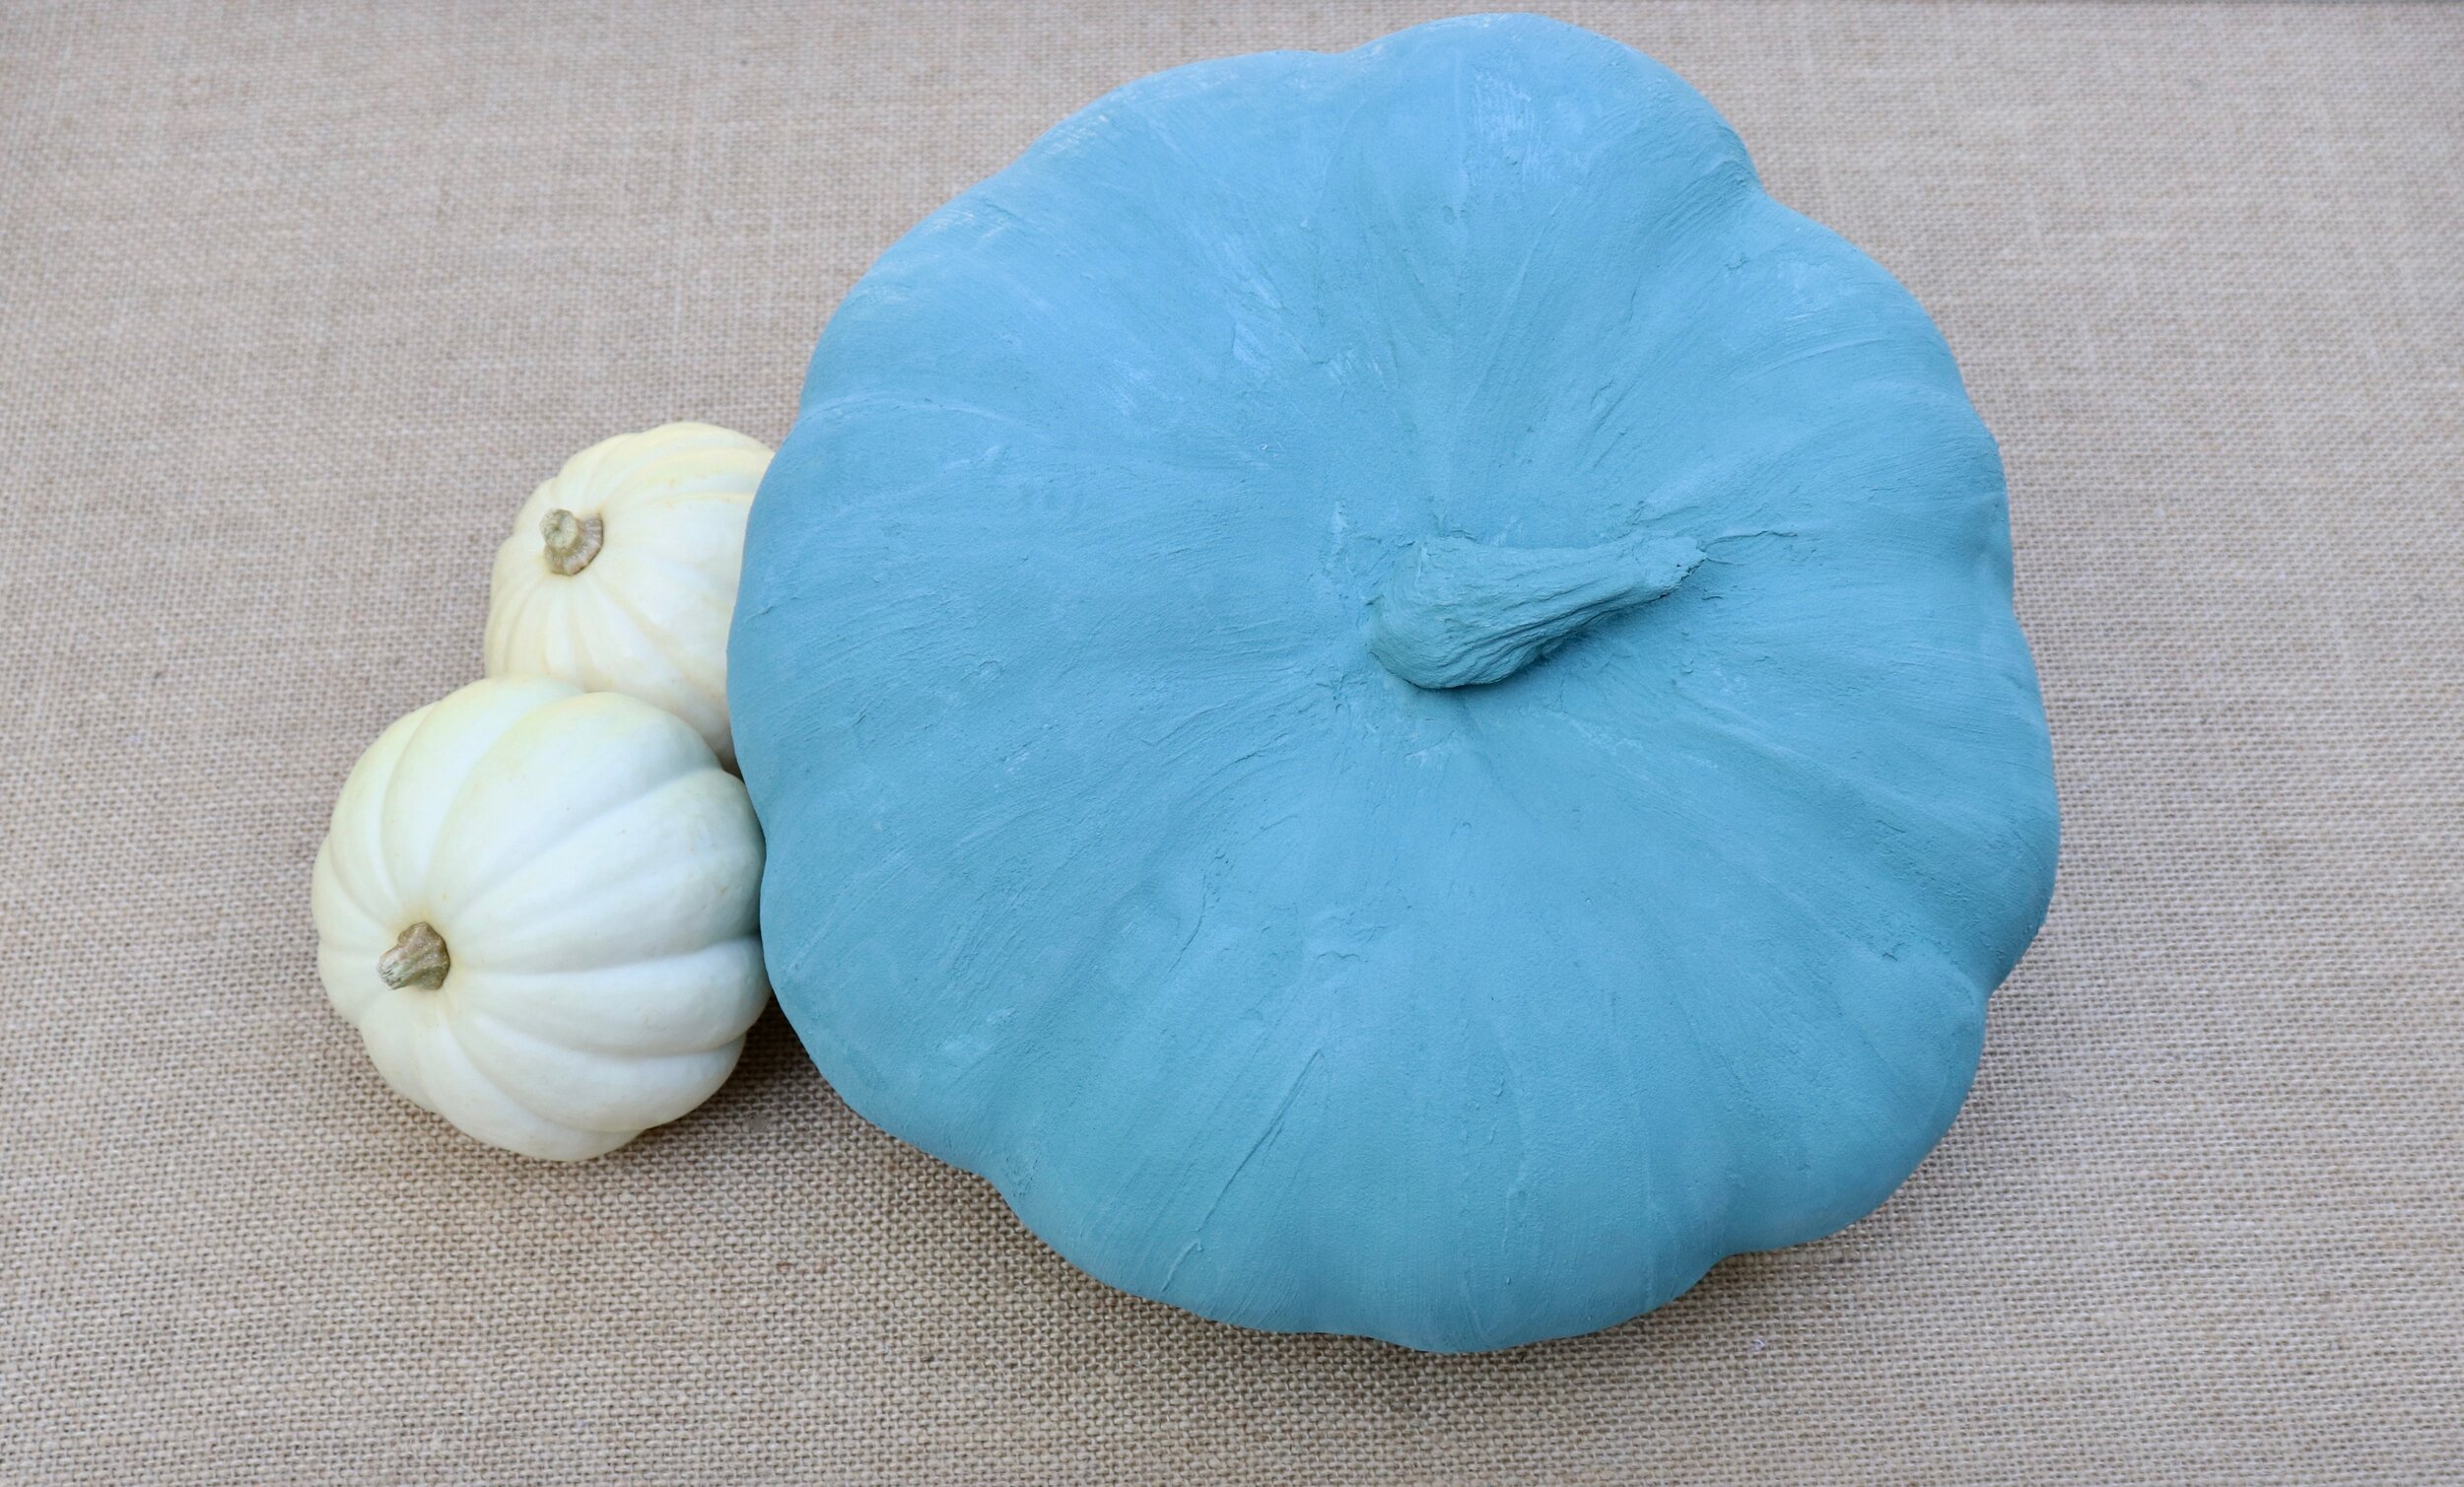
Ceramic Pumpkin
We love the viral videos where decorators turn glass vases into faux-terracotta pottery. We used baking soda to create our own take on the terracotta trend, terracotta pumpkins.
-To create your faux-terracotta mixture, combine a half cup of satin acrylic paint with approximately 2 tablespoons of baking soda. Mix thoroughly. The paint will begin to react with the baking soda and puff up. If this reaction does not occur, add more baking soda. We recommend starting with the ratio above and adjusting the overall amount of paint based on the size of your pumpkin(s).
-Test your paint mixture on a piece of computer paper. If you do not notice a thick textured appearance, add more baking soda.
-Using an acrylic bristle brush, apply a thick layer of the paint ensuring all strokes are in the same direction.
-Allow the paint to dry very well. Your pumpkin will need at least an extra 30 minutes after it appears to have dried.
-Mix up more of the faux-terracotta blend and apply a second coat. Do not attempt to blend out your brush stokes as you want to create a noticeable texture that will mimic terracotta.

Metallic, glass, and terracotta textures
Materials
Pumpkins
Acrylic paint (metallic, satin, pearl)
White printer paper
Disposable cups (for mixing)
Cotton swab
Large wide acrylic brush
Small wide acrylic brush
Small narrow acrylic brush
Fan acrylic brush
Gilding adhesive
Gold gilding sheets/gold leaf
Baking soda
High gloss acrylic glaze
These pumpkins are perfect for a larger party or for a smaller 2020 Halloween night in. Embracing the holidays, getting into the fun, and making memories is what we enjoy most. Decorating for the holiday sets the mood for an unforgettable celebration!
We would love to see your take on pumpkin décor! If you recreate any of the pumpkins above or if you have creative pumpkin designs of your own, share them with us by tagging us on Instagram @leseventsnyc.